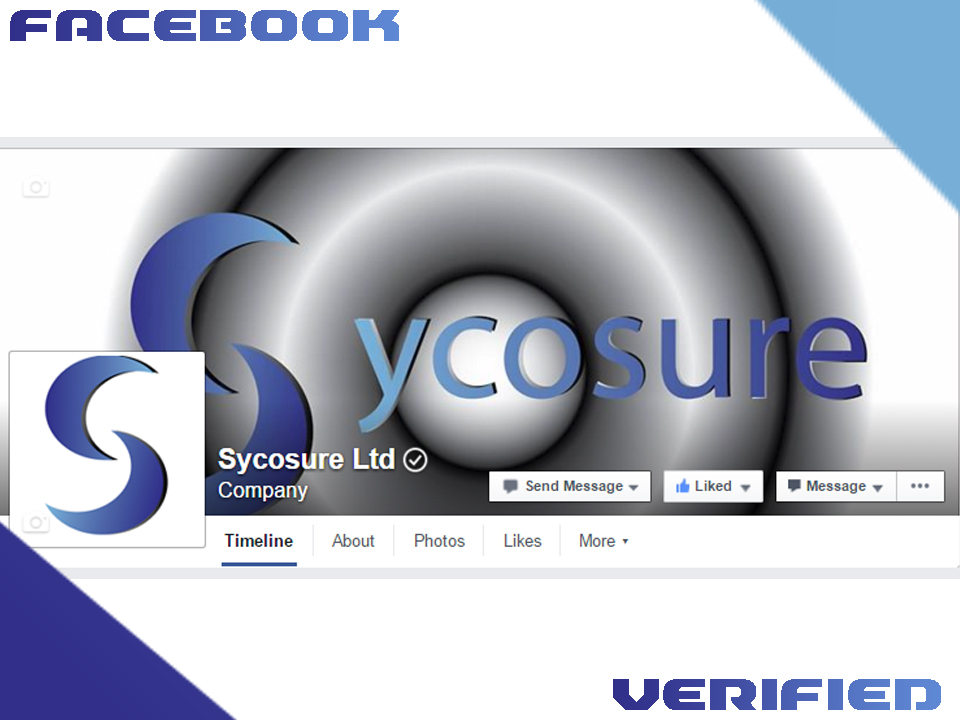
If you own a company and have either a local business page or a company page, you might be interested in getting your page verified. Not only is the verification badge a trust factor on Facebook, but verified Facebook pages show up higher in the Facebook search results.
The business page verification process is pretty simple, and really only requires you to either have a phone number associated with your business or a document such as a business license.
How To Get Your Page Verified On Facebook (For Businesses)
WARNING: If you change your page’s name, you’ll have to get your page verified again. I just realised my page lost the verifcation tick after I changed the page name from “Sycosure Ltd” to “Sycosure”. This has happened to several other person, which you can read about here.
1.Log in to Facebook and go to your business page.
2. Go to your business page’s settings
3. Under” General”, click on “Page Verification” and click “Verify this page”.
4. There’s going to be a pop-up box with an option that says “Get started”. Click on that, enter your phone number, and then enter the verification code to verify your page. Please be aware that if you enter your phone number, it will be associated with your Facebook business page. If you would prefer not to use your phone number, you can verify your page with a document instead.
4.1. If you decided to go with the document option, then click on the “Verify this Page with documents instead” link, and you’ll see the pop-up below. You’re going to want to submit something like a business license or one of the documents listed in the image below.
4.2 If Facebook rejects your verification request because the “name and/or address” doesn’t match (even though it does), use Microsoft Paint to circle the info they claim doesn’t match the page and send the document back to them. Trust me, they’ll verify your page quick.
- Are Forums Dying? A Look Into Forums As A Whole - April 22, 2025
- Are The “Rank 1 In Google For Any Keyword” Services A Scam? - April 1, 2025
- OfficeOutlaw.com: Our New Internet Marketing Forum - March 26, 2025
